How to Upgrade Your PCThe Complete Step-by-Step Installation Guide (2026)
I've watched people spend $300 on a new GPU when all they needed was an $80 SSD. It's the most expensive misdiagnosis in PC upgrading — and it happens constantly, because most guides skip straight to installation steps without making sure you're fixing the right problem first.
What This Guide Covers
- Signs Your PC Actually Needs a Hardware Upgrade
- Before You Touch Anything: The Pre-Installation Checklist
- How to Check Your Current PC Specs
- Compatibility: What to Verify Before Buying Any Part
- Tools You Need
- How to Install an SSD (NVMe M.2 and SATA)
- How to Install RAM
- How to Install a New Graphics Card (GPU)
- How to Install a New Processor (CPU)
- Common Mistakes (and How to Avoid Them)
- After the Upgrade: How to Verify Everything Worked
- Frequently Asked Questions
1. Signs Your PC Actually Needs a Hardware Upgrade
Before opening your case, confirm your problem is actually hardware — not software. Malware, outdated drivers, a storage drive that's 95% full, or a startup folder stuffed with background apps can all mimic hardware failure. Run a malware scan and trim your startup programs first. If the sluggishness survives a reboot after those fixes, you're dealing with hardware.
A PC that takes two or more minutes to boot is almost always a storage problem — either an aging HDD or a failing SSD. If the slowness is app-launching even right after a fresh reboot, the cause is still storage or insufficient RAM. Switching between browser tabs triggering freezes points specifically at RAM being maxed out — open Task Manager during one of those freezes and check the Memory tab. If you're sitting at 90%+ utilization with nothing unusual open, that's your answer.
Games stuttering and delivering low FPS even at reduced settings means the GPU is the bottleneck. CPU usage sitting at 90–100% during normal tasks (not gaming) suggests the processor is too old or underpowered for your workload. Fans running at full blast during light use is thermal throttling — either a cooling issue or aging CPU paste that needs replacing. I had a machine running 100% fan speed during YouTube playback for a month before realizing the CPU paste had dried out completely — reapplying it dropped load temps by 22°C and the fans went silent. Blue screens and random crashes could be failing RAM, failing storage, or overheating — they need diagnostic work before you buy anything. Texture pop-in and open-world stutters that other people's systems don't have on the same game almost always point to slow storage — an NVMe SSD will fix this specifically.

Not sure which symptom matches your situation? Our diagnostic guide walks through each scenario in detail: What Should I Upgrade On My PC →
2. Before You Touch Anything: The Pre-Installation Checklist
Every failed upgrade I've ever troubleshot — for myself or for someone else — traced back to skipping one of these steps. They feel like unnecessary preamble until something goes wrong. Do all of them before opening your case.
Back up your data first
Copy important files to an external drive or cloud storage before you do anything else. Hardware installation almost never destroys data, but there's always one exception — and discovering you had no backup is a genuinely bad day. This takes 10 minutes. Do it before buying parts, not after.
Fully shut down — don't sleep it
Use Start → Power → Shut Down. Then unplug the power cable from the wall. Modern PCs on sleep or hibernate still have power flowing through certain circuits. Touching components with live power present can damage them instantly and silently.
Ground yourself before touching anything
Touch a bare metal part of your PC case before handling any component. A cheap anti-static wrist strap clipped to the case is better. Static electricity is invisible, doesn't hurt you, and will quietly kill RAM, SSDs, and CPUs on contact. Takes 5 seconds to prevent.
Verify the part you received before installing it
Check that the component matches what you ordered — correct RAM type (DDR4 vs DDR5), correct SSD form factor (M.2 vs 2.5-inch SATA), correct GPU model. I once almost installed a DDR4 stick into a DDR5 board before catching it at the slot. Do this before removing packaging.
Download your motherboard manual
Look up your motherboard model (Section 3 shows how) and download the PDF manual from the manufacturer's website. It shows the exact slot layout, which RAM slots to populate first, and where every connector lives. This single document will save you more time than anything else on this list.
Prepare your workspace
Flat, non-carpeted surface — a wood table is ideal. A small bowl or magnetic tray for screws, because they are tiny and they roll. Good overhead lighting matters more than people expect; you'll be working inside a dark metal box, and the difference between good light and bad light is an easy 20 extra minutes.
3. How to Check Your Current PC Specs
You need to know exactly what's inside your PC before ordering anything. Half the incompatible-part horror stories on forums start with someone assuming they had DDR4 when they actually had DDR5, or a Gen 3 M.2 slot when they assumed Gen 4. Take 5 minutes to verify now and save yourself a return shipment later.
Method 1: Windows System Information (msinfo32)
Press Windows Key + R, type msinfo32, and press Enter. This shows your CPU model, total installed RAM, and your motherboard's make and model under BaseBoard Product. Write that motherboard model number down — you'll need it to check compatibility in the next section.
Method 2: Task Manager Performance Tab
Press Ctrl + Shift + Esc → Performance tab. This shows real-time CPU, RAM, GPU, and storage utilization. The RAM panel tells you total capacity, speed in MHz, and how many of your available slots are currently occupied. If it says "2 of 4 slots used," you have room to expand without removing anything.
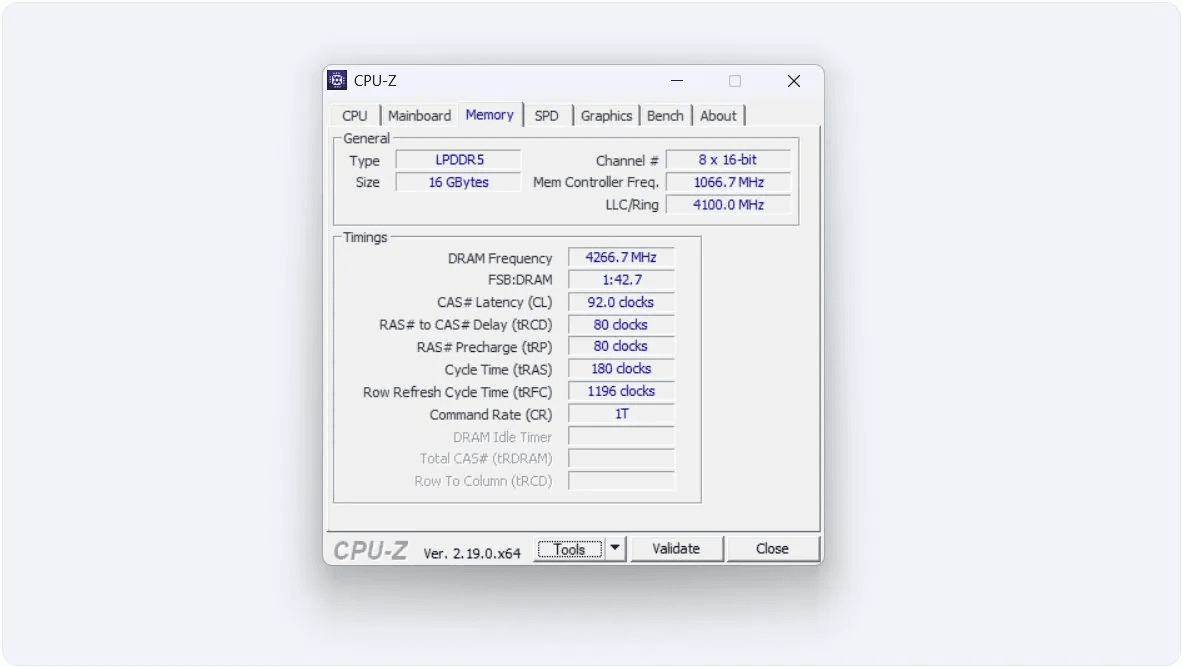
Method 3: CPU-Z (Most Detailed — Use This for RAM)
Run CPU-Z (free download at cpuid.com) before buying any RAM. It shows your exact RAM type (DDR4 or DDR5), current operating speed, timings, and whether you're running single or dual channel. Windows shows none of this. The Mainboard tab also shows your exact motherboard model and BIOS version — more reliable than msinfo32 on some systems. I run CPU-Z before every RAM recommendation I make to anyone, without exception.
4. Compatibility: What to Verify Before Buying Any Part
Buying the wrong part is the most expensive mistake in this process — DDR5 into a DDR4 board, a 340mm GPU into a case with 310mm clearance, a CPU that needs a BIOS update the old CPU can't boot to apply. I've made some of these personally and seen the rest come up in every PC building community at least weekly. Use these checks before ordering anything.
SSD Compatibility
✓ First, confirm your motherboard has an available M.2 slot — check the manual or look up your board model on the manufacturer's site. Then check what PCIe generation it supports. A Gen 4 NVMe in a Gen 3 slot works fine but caps at Gen 3 speeds: roughly 3,500 MB/s instead of 7,000 MB/s. If your board is Gen 3 only, don't pay the Gen 4 premium. If there's no M.2 slot at all, a 2.5-inch SATA SSD still cuts boot time from ~85 seconds down to under 15 seconds compared to an old HDD — not nothing. If you're replacing your boot drive, you need a plan to either clone the old drive first or reinstall Windows from a USB after the swap. For cloning, Rescuezilla (free and open source) handles this cleanly.
RAM Compatibility
✓ The non-negotiable first check: DDR4 or DDR5? Run CPU-Z and look at the Memory tab. DDR4 and DDR5 are physically incompatible — the notch position is different, and forcing a wrong-generation stick will damage the slot. Check your board's maximum supported capacity in the manual, and check Task Manager → Performance → Memory for how many slots are currently occupied. If you have empty slots, you can add sticks; if all slots are full, you're replacing what's there. When adding to existing RAM, buy identical speed and generation, or buy a brand-new matched kit and remove the old sticks entirely — mixing speeds runs everything at the slower speed, which defeats the purpose. On AMD AM5 platforms, DDR5-6000 is the sweet spot for Infinity Fabric clock synchronization; going faster costs more and gains less. Crucial's compatibility scanner will confirm what your specific board officially supports.
GPU Compatibility
✓ Measure the available length inside your case before buying anything. Modern high-end GPUs typically run 330–350mm. Most mid-tower cases spec between 300–360mm clearance — measure yours before ordering. NZXT H510 clears 369mm; Fractal Design Meshify C clears 315mm with the front fan installed. Also check slot thickness — most 2026 GPUs are 2.5 to 3 slots wide, so make sure adjacent expansion slots are clear. For PSU wattage, add your CPU's TDP plus the GPU's TDP plus roughly 150W for the rest of the system, then make sure your PSU clears that total by at least 20%. High-end cards like the RTX 5080 or RX 9070 XT need a 750W+ system PSU. Newer GPUs use a 16-pin 12VHPWR connector; older PSUs may need the adapter that ships with the card, so confirm this before buying.
CPU Compatibility
✓ Intel uses LGA 1851 for Core Ultra 200 series and LGA 1700 for 12th–14th gen. AMD uses AM5 for Ryzen 7000 and 9000. These do not cross-fit. Go to your motherboard manufacturer's website, find your exact board model, and check the official CPU support list — being on the same socket isn't enough, because some CPUs require a BIOS update to run on older boards. If the new CPU needs a newer BIOS, you must update it while the old CPU is still installed. Trying to boot with an incompatible CPU before updating leaves you with a board that won't POST, and that's a frustrating problem to solve. Also check that your CPU cooler is rated at or above the new CPU's TDP; a 65W cooler on a 125W processor will throttle under sustained load — you'll see clock speeds drop to 3.0–3.5 GHz during tasks that should be running at boost.
Not sure if your specific PC model is worth upgrading at all? Read: Can I Upgrade My PC? →
5. Tools You Need
PC upgrades require almost nothing in terms of tooling, which surprises most people. For a RAM or M.2 SSD install, you may need zero tools at all. For everything else, here's the complete picture.
A PH2 Phillips screwdriver handles case panels and GPU brackets. A PH1 handles M.2 SSD retention screws, which are very small. An anti-static wrist strap costs a few dollars and clips to the case — worth having. For CPU swaps, you'll also need thermal paste (a small tube of Arctic MX-6 or Noctua NT-H1 is more than enough for multiple applications) and isopropyl alcohol at 90% or higher for cleaning old paste off both surfaces. A small container for screws is more important than it sounds — I've spent more time hunting for a dropped M.2 screw than on the actual installation. A flashlight or headlamp rounds it out, because the inside of a mid-tower is consistently darker than it looks until you're already elbow-deep in it.
That's everything. No soldering, no specialty tools, no electrical knowledge required for RAM, SSD, or GPU upgrades.
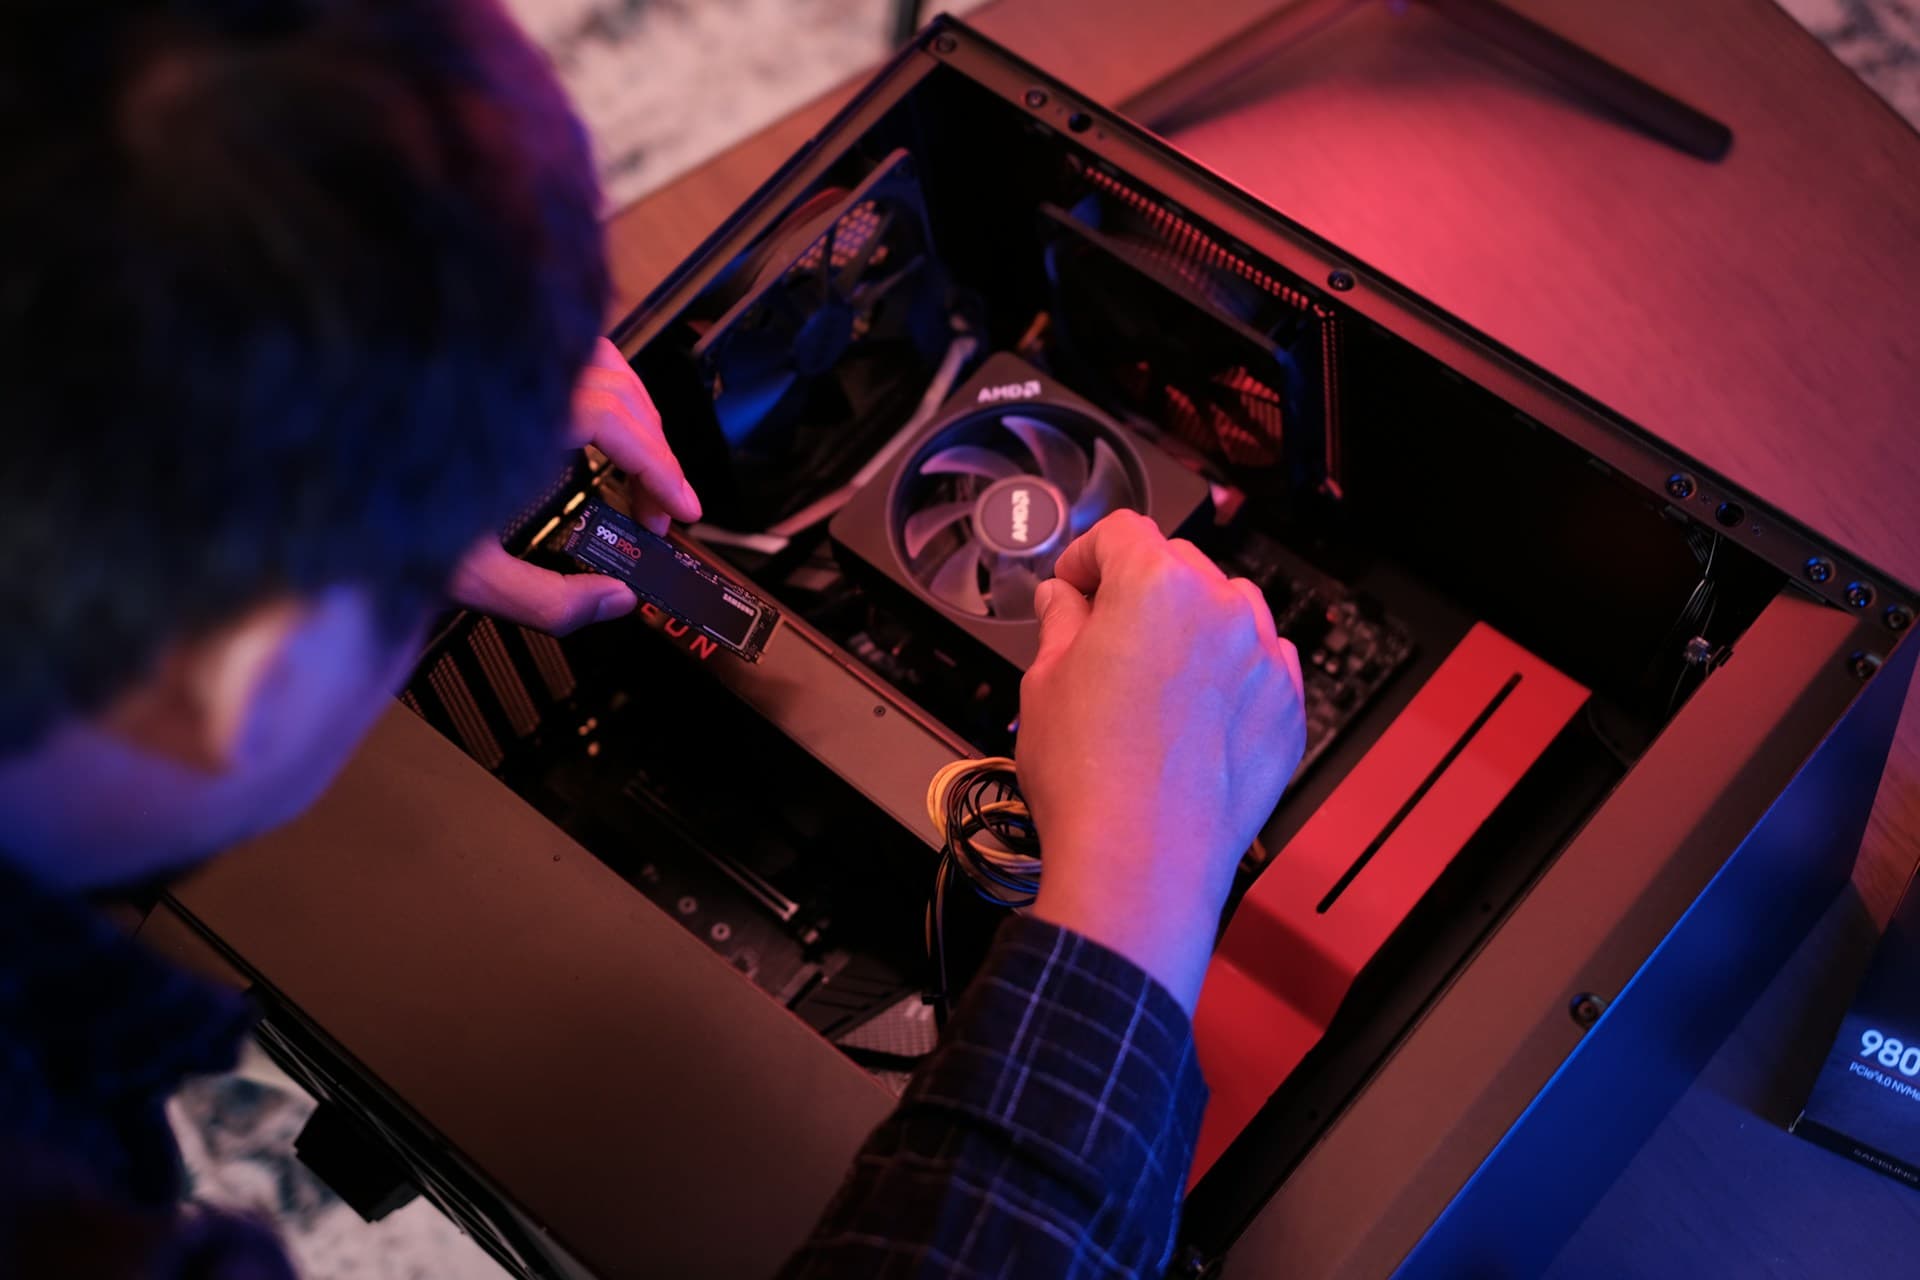
6. How to Install an SSD
If you're still on a mechanical hard drive, this upgrade is going to feel like buying a new computer. Boot time drops from around 85–90 seconds on a spinning drive to under 10 seconds on a modern NVMe. Apps open before you've moved your hand off the mouse. It's the best dollar-for-dollar upgrade in PC hardware, and it's the one I recommend first to almost everyone asking where to start.
If this is your first M.2 install, set aside 20 minutes — it's genuinely one of the simpler upgrades out there. One slot, one screw or latch. The SATA version takes about the same time but involves two cables. For product recommendations and 2026 price tiers, see our SSD Upgrade Guide.
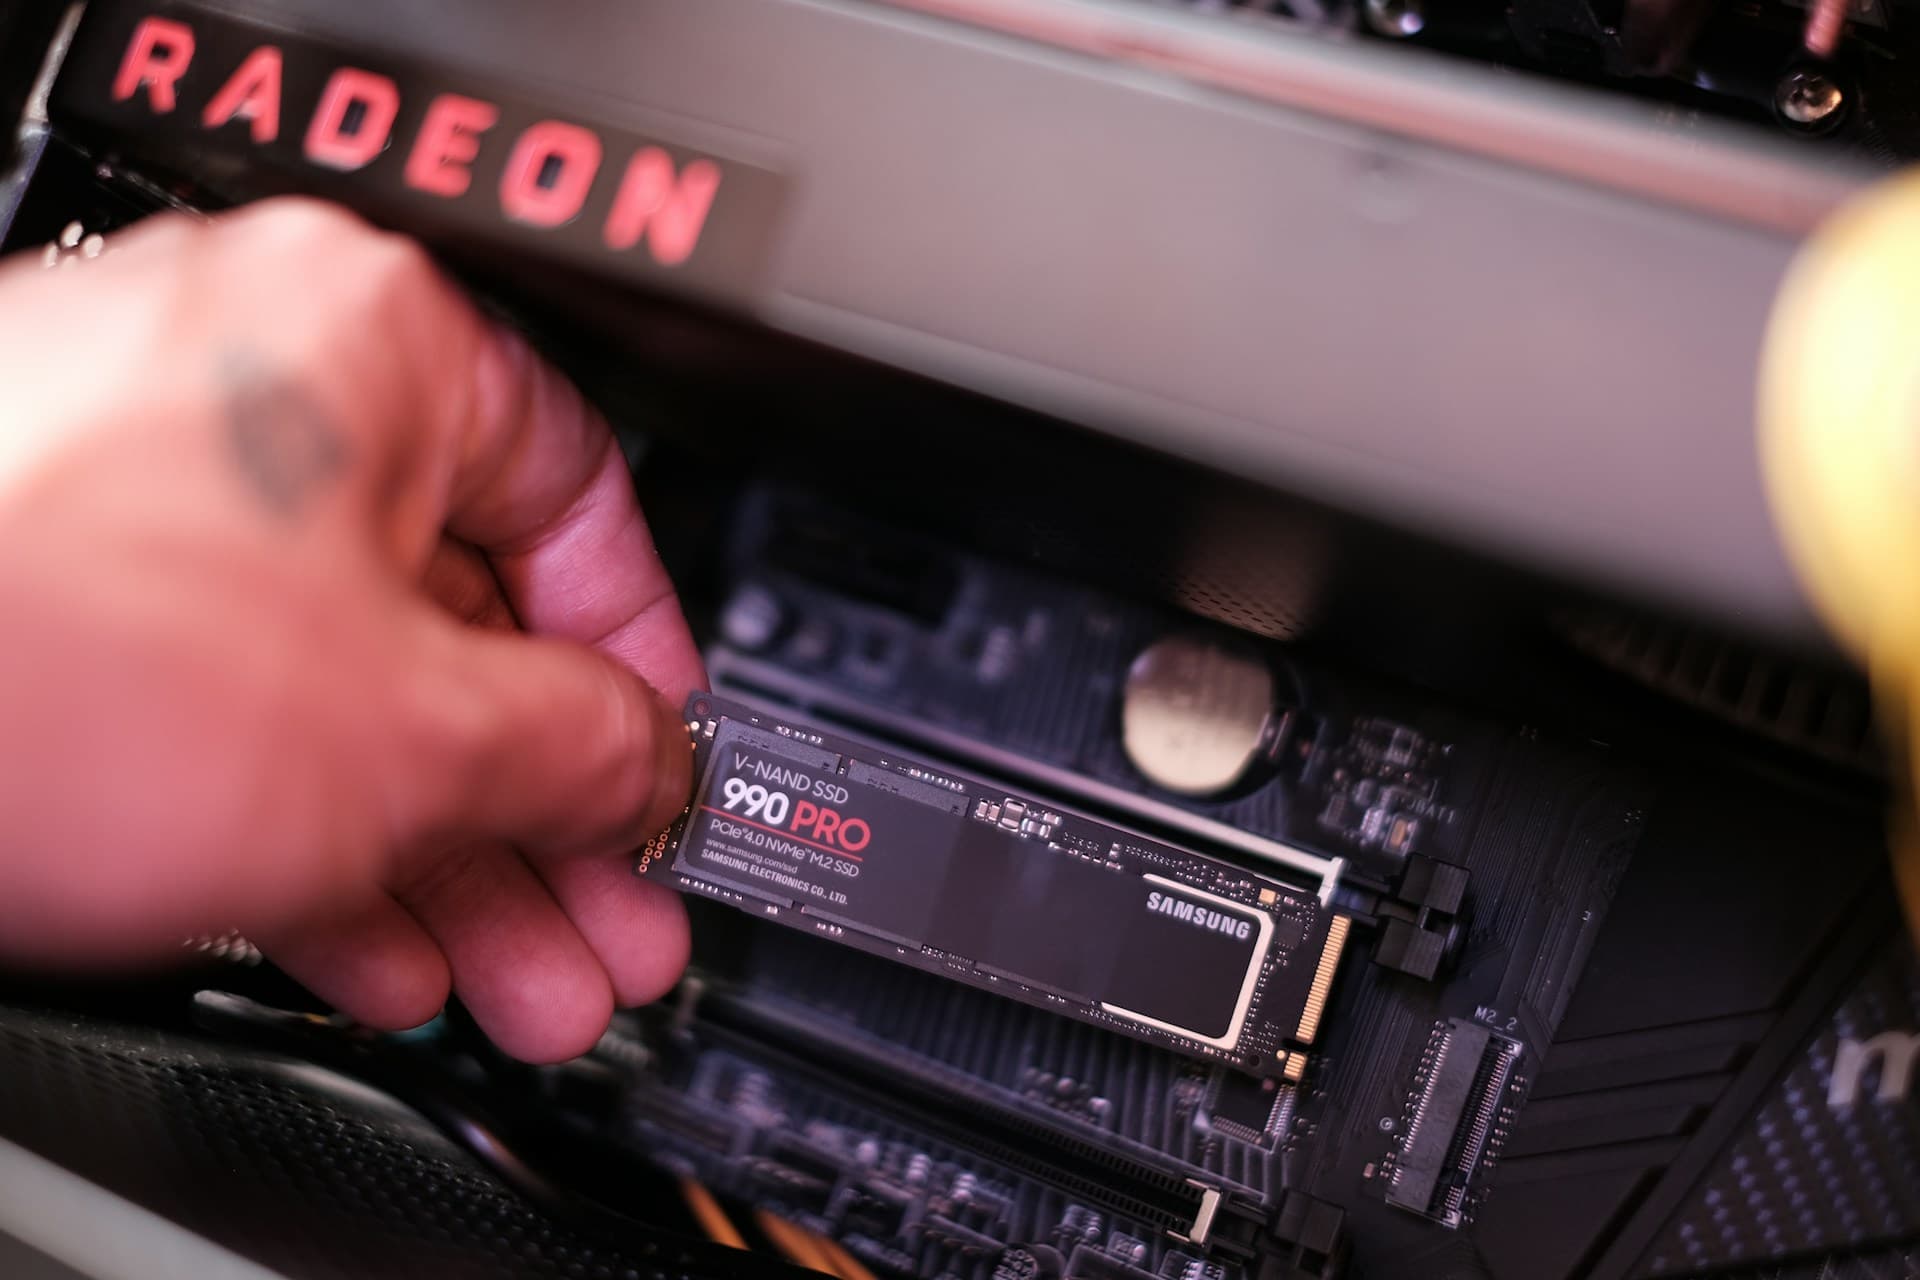
Installing an NVMe M.2 SSD
Power down fully and unplug from the wall.
Open the side panel of your case — usually two thumbscrews at the rear.
Locate the M.2 slot on your motherboard. It's a short horizontal slot, typically between the CPU socket and the first PCIe slot. Many boards have a metal heatsink cover held by one screw — remove it.
If your board has two M.2 slots, use the top slot closest to the CPU. It connects directly to the CPU's PCIe lanes and runs at full speed. The bottom slot often routes through the chipset and may run slower.
Insert the M.2 SSD at about a 30-degree angle into the slot. The notch on the drive aligns with the key in the slot — it goes in one way only. Slide it in until it seats fully.
Press the drive flat against the board and secure it. Many 2026 motherboards use a tool-free latch — push down and flip. Older boards use a small retention screw.
Replace the M.2 heatsink cover if your board has one.
If this is a secondary drive (not your boot drive): close up, power on, and open Disk Management in Windows to initialize and format it. The drive will not appear in File Explorer until you do this — it's not broken, just unformatted.
If replacing your boot drive: you need to either clone the old drive to the new one first using Rescuezilla (free and open source), or reinstall Windows from a USB after the swap. See the note below.
Replacing your boot drive?
Create a Windows 11 installation USB at microsoft.com/software-download/windows11 before starting. After installing the new SSD, boot from the USB, select the new drive, and follow the installer. If your Microsoft account was previously linked to this PC, Windows 11 activates automatically.
Installing a SATA SSD (2.5-inch)
Power down fully and unplug from the wall.
Locate a 2.5-inch drive bay in your case, or remove the existing HDD you're replacing.
Slide the SATA SSD into the bay and secure it with the four side screws, or use the tool-free rails if your case has them.
Connect a SATA data cable from the drive to any open SATA port on the motherboard.
Connect a SATA power cable from your PSU to the drive.
Power on. If replacing the boot drive, reinstall or clone Windows as described above. If adding a secondary drive, initialize it in Disk Management.
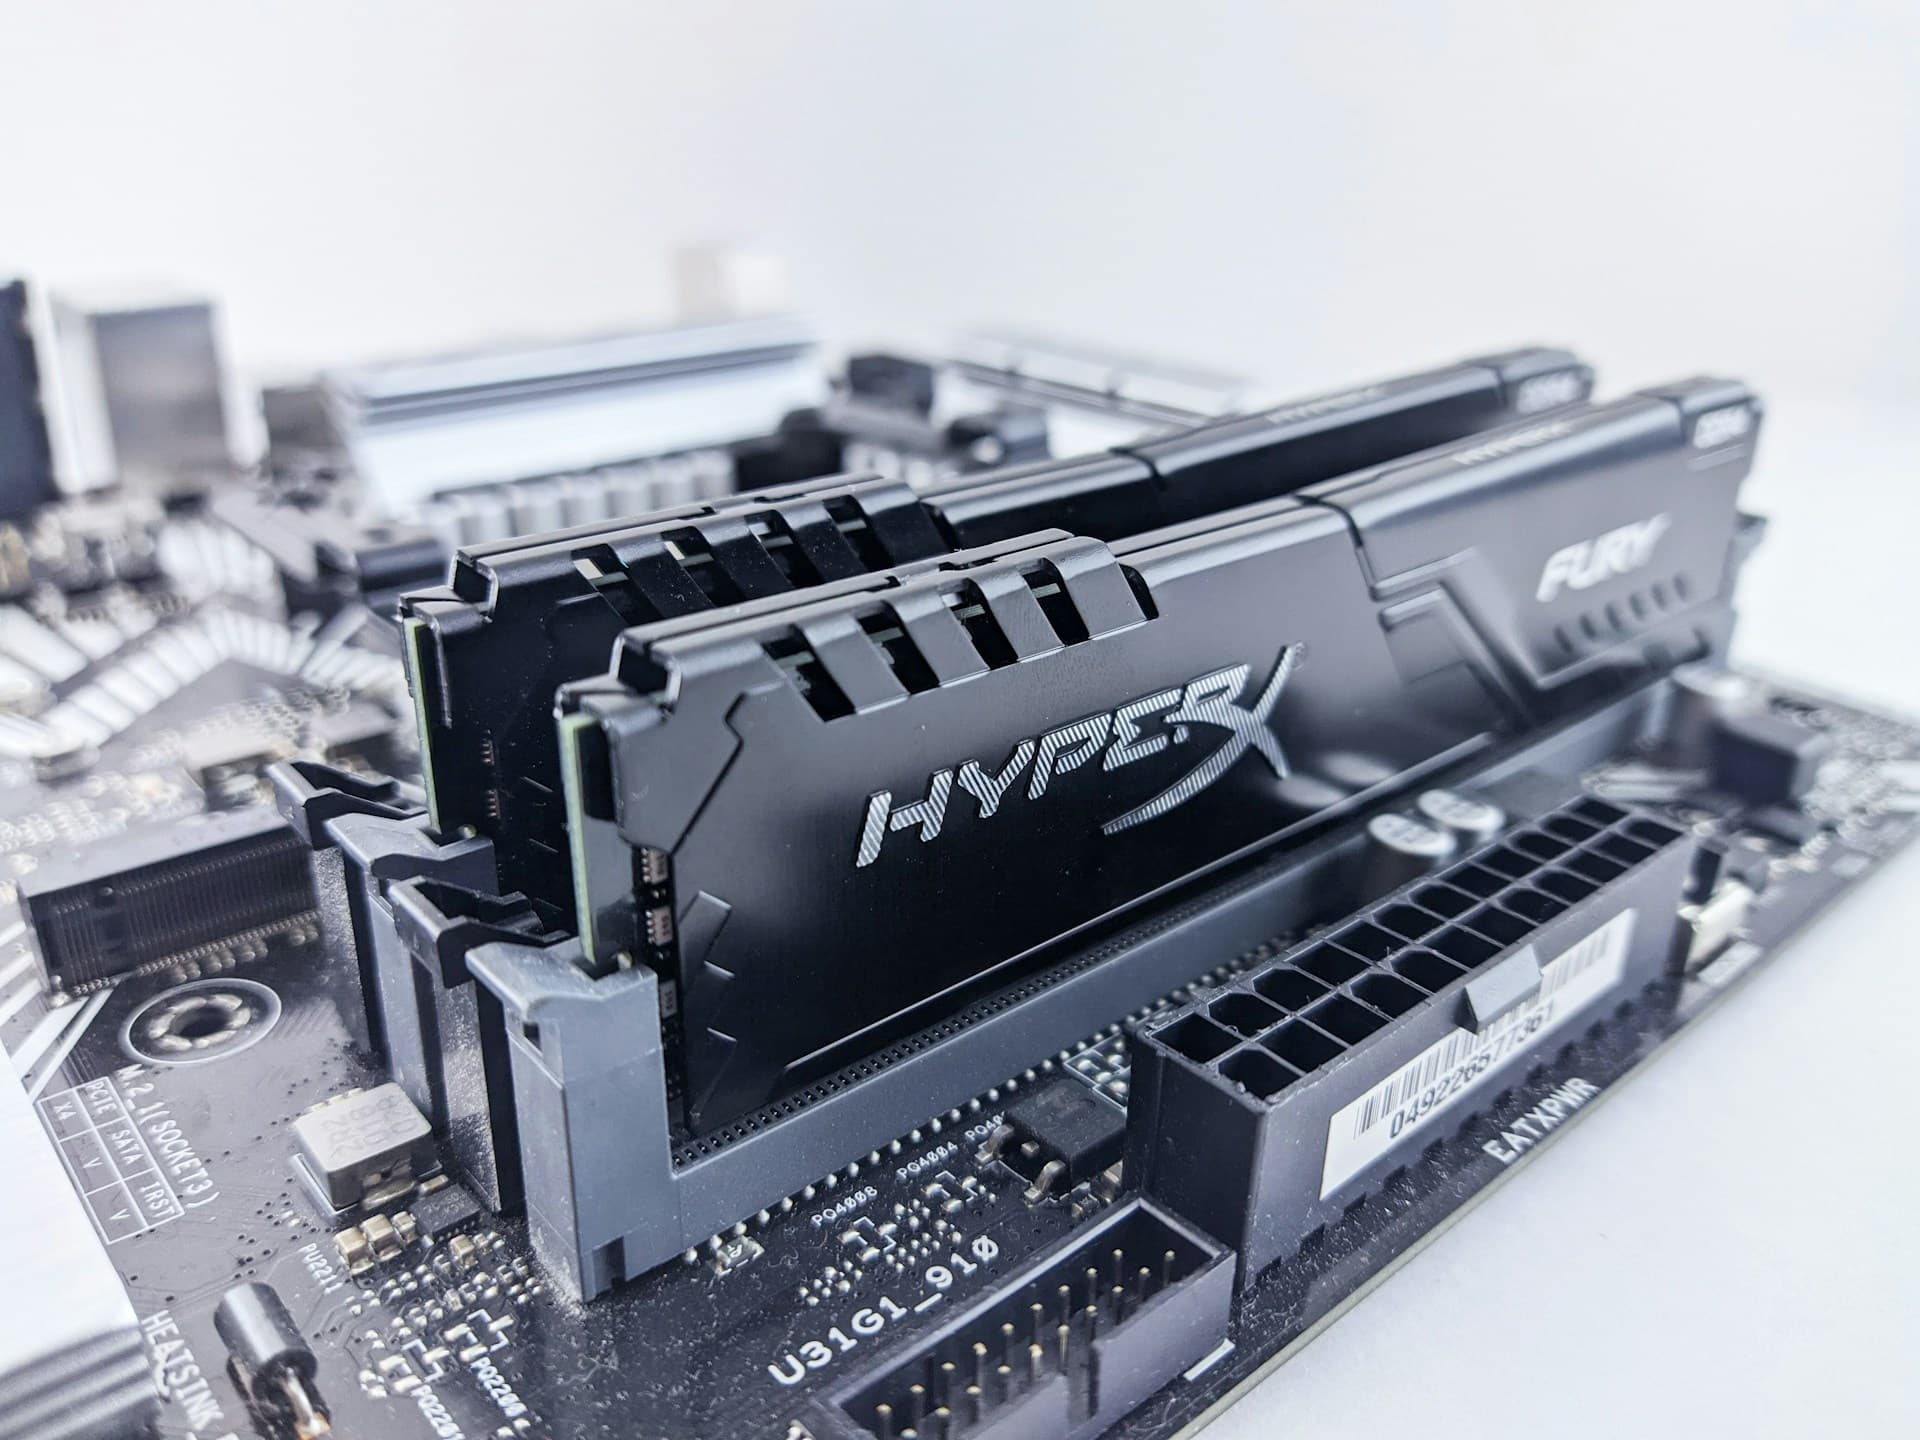
7. How to Install RAM
RAM is the fastest upgrade on this list — 10 to 15 minutes your first time, zero tools required. Going from 8GB to 16GB typically drops RAM utilization from around 90–94% under normal multitasking down to 50–60%, which eliminates the tab-switching freezes that sent most people here. The one thing that regularly trips people up is slot placement: installing a two-stick kit in slots 1 and 2 instead of slots 2 and 4 disables dual-channel mode and costs you real performance. Check your motherboard manual before touching anything — the diagram is usually on page one.
For guidance on how much RAM to buy and which kit, see our RAM Upgrade Guide.
Power down fully and unplug from the wall.
Open the side panel of your case.
Locate the RAM slots — the long, thin slots directly to the right of the CPU socket.
Check your motherboard manual for the correct slots to use. Most boards with 4 slots want you in slots 2 and 4 (not 1 and 2) for a 2-stick kit running in dual channel. The manual will show a diagram. Wrong slots means slower RAM and you'll have no idea why.
Press the retention clips outward on both ends of the target slot until they click open.
Align the new RAM stick over the slot. The notch in the stick lines up with the key in the slot — it physically cannot go in backwards. Don't force it if the notch isn't aligned.
Press down firmly and evenly on both ends at the same time. RAM requires more force than feels comfortable the first time — this surprises almost everyone. Press decisively until you hear both clips snap back into place. That click is what you're waiting for.
Check that both clips are fully closed. An open clip on either end means the stick isn't seated and your PC won't boot.
Close the case, plug in, and power on. Windows detects new RAM automatically — no drivers, no setup.
Verify in Task Manager → Performance → Memory that the total reflects your new amount. Then reboot into BIOS and enable XMP (Intel) or EXPO (AMD) — see the note below.
Enable XMP / EXPO after installing — this is not optional
Every stick of RAM defaults to a slow JEDEC base speed regardless of its rating. If you bought DDR5-6000 and skip this step, you're running at DDR5-4800 and paid for performance you're not getting. Reboot, press Delete or F2 to enter BIOS, find XMP (Intel) or EXPO (AMD), and enable it. One-time setup. Takes 2 minutes.
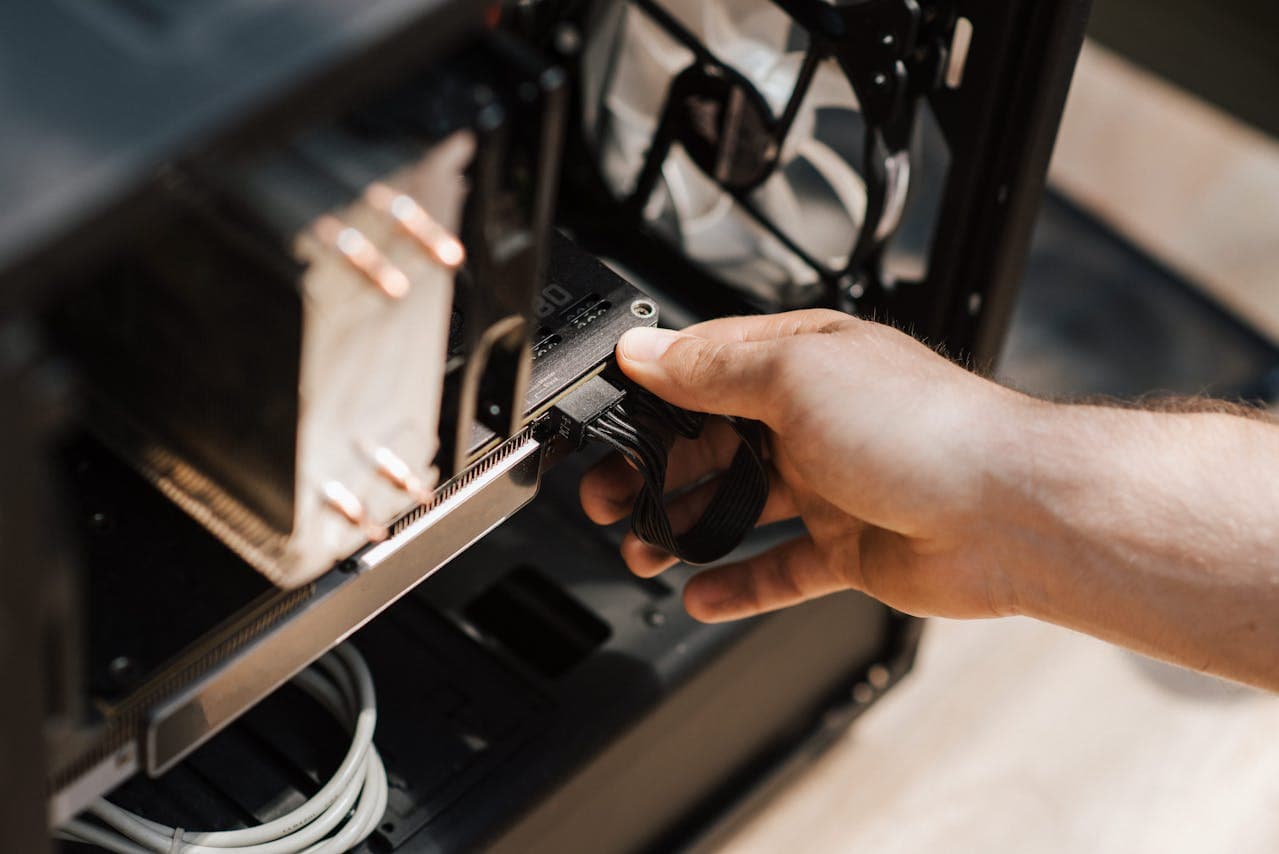
8. How to Install a New Graphics Card (GPU)
A GPU swap has more steps than RAM or SSD, mostly because of driver management. The single most common mistake is skipping old driver removal — I've seen it cause graphical glitches, crashes on launch, and instability that's nearly impossible to diagnose once you're six steps past where it went wrong. Remove the old drivers first, before touching hardware. Budget 20–30 minutes for this your first time.
For GPU recommendations and VRAM guidance for 2026, see our GPU Upgrade Guide.
Before touching your PC: uninstall your old GPU drivers using Display Driver Uninstaller (DDU) from guru3d.com. Boot into Windows Safe Mode (hold Shift while clicking Restart → Troubleshoot → Advanced Options → Startup Settings → Restart → F4), run DDU, select Clean and Restart. This strips all driver remnants that otherwise conflict with the new card.
Power down fully and unplug from the wall after DDU completes.
Open the side panel.
Disconnect the monitor cable from the old GPU.
Disconnect the PCIe power cables from the old GPU — 6-pin, 8-pin, or 16-pin connectors.
Unscrew the GPU bracket from the back of the case.
Find the retention clip at the far end of the PCIe x16 slot and press it down or sideways to release the card. Pull the GPU straight out.
Align the new GPU with the PCIe x16 slot and push it down firmly until the retention clip clicks. You'll feel it seat.
Screw the new GPU's bracket into the case.
Connect the PCIe power cables from your PSU. Modern high-end cards use a 16-pin 12VHPWR connector — this connector requires more force than feels right the first time, push until it clicks. Mid-range cards typically use one or two 8-pin connectors. The card will not function without power cables connected.
Reconnect your monitor cable to the new GPU's outputs — not the motherboard's video-out port. (Check first if you have no display after booting: is the monitor cable plugged into the GPU? This is the cause the majority of the time.)
Power on. Windows boots at low resolution using a generic display driver. Download the latest driver for your new card directly from nvidia.com or amd.com, install it, and restart.
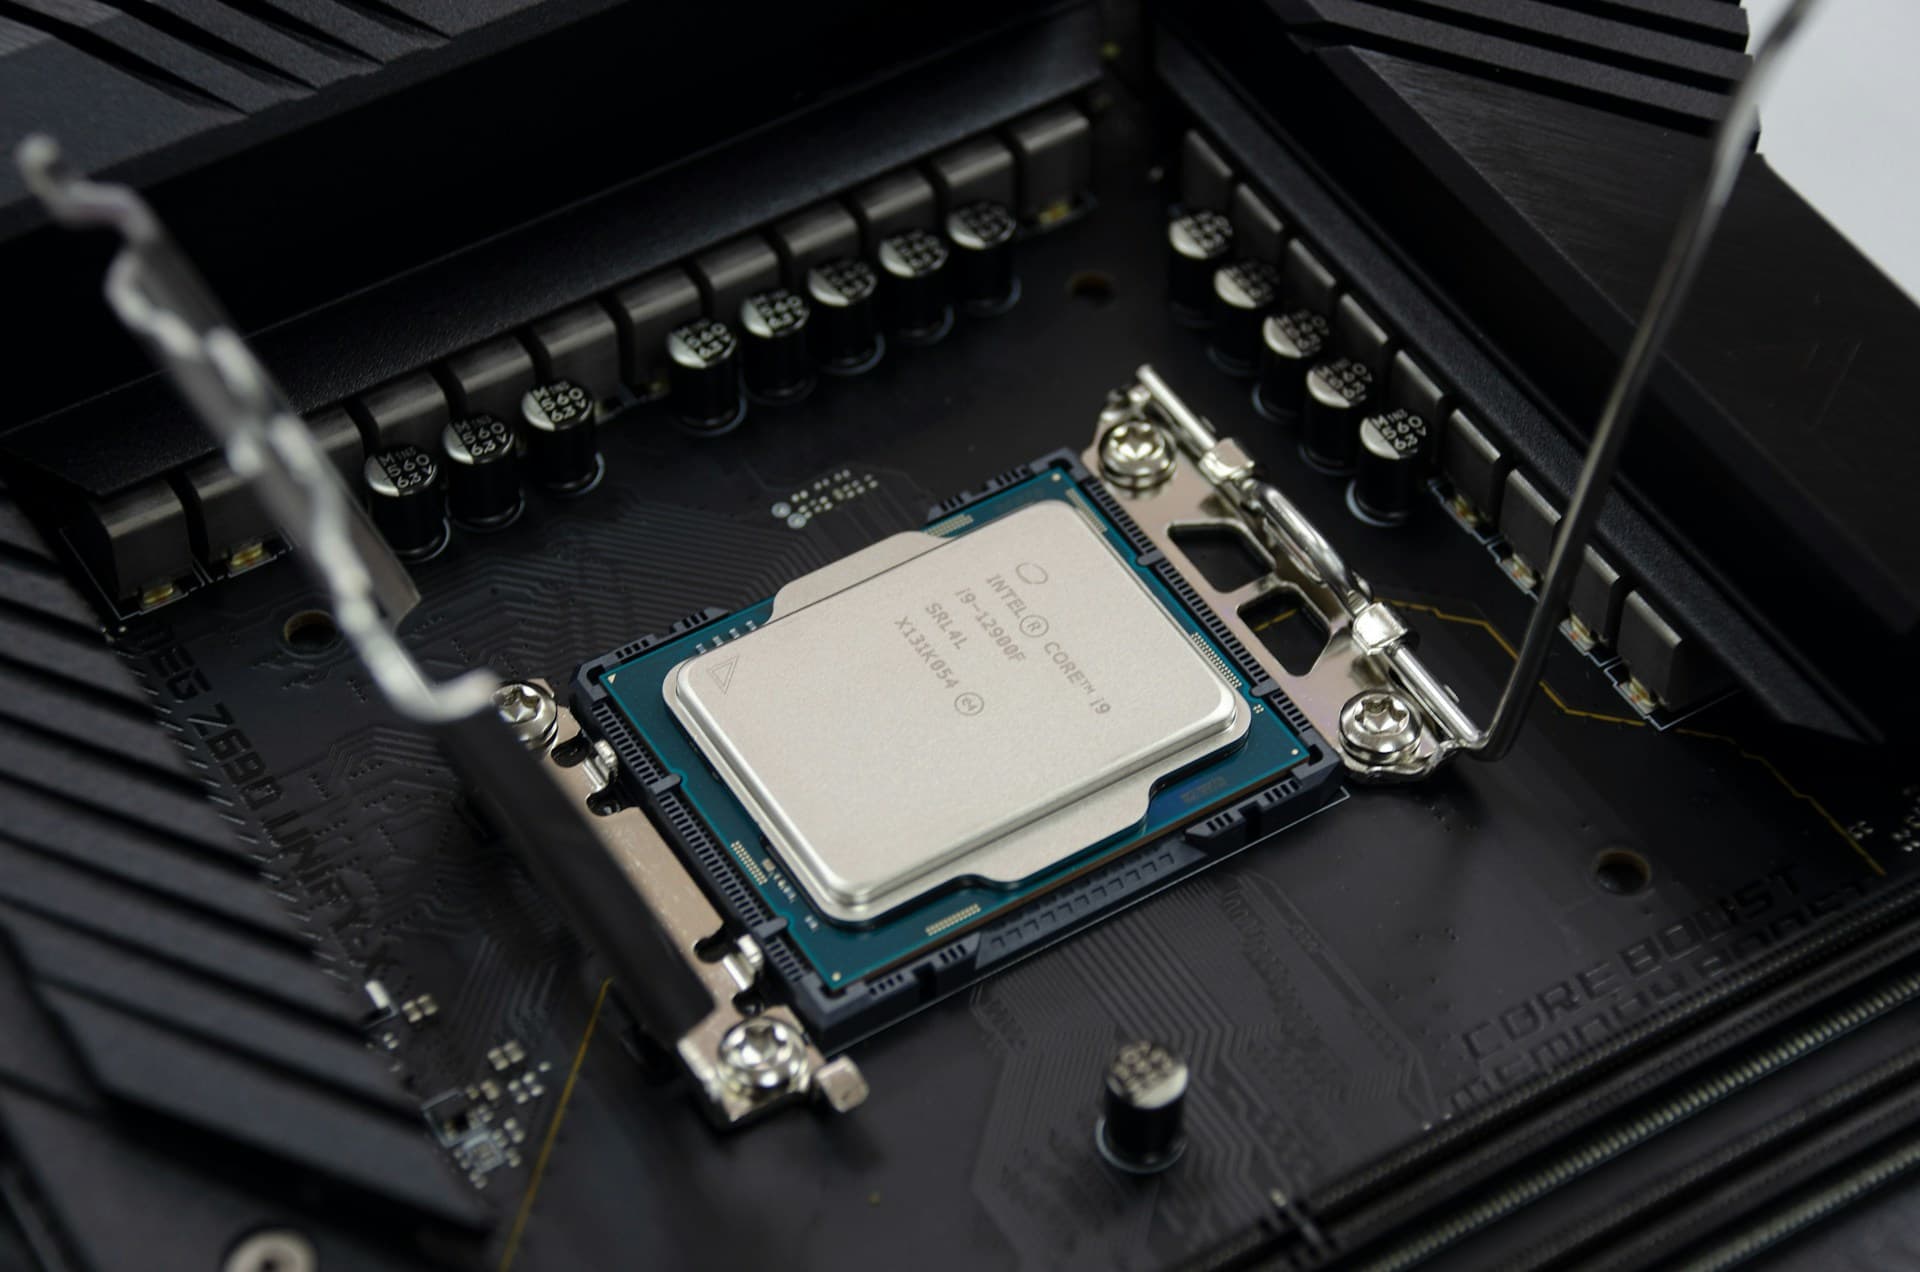
9. How to Install a New Processor (CPU)
CPU installation is the most involved upgrade on this list. The steps themselves aren't technically difficult, but the preparation is non-negotiable — skip any of it and you're likely looking at a PC that won't boot. Budget 45–60 minutes your first time. Follow every step in order.
For CPU recommendations, socket compatibility, and when a CPU upgrade is actually worth the cost, see our CPU Upgrade Guide.
Verify compatibility first: look up your exact motherboard model on the manufacturer's website, find the CPU support list, and confirm your target CPU is on it.
Update your motherboard BIOS to the latest version — while your old CPU is still installed. Download the update file from the manufacturer's site, copy it to a USB drive, and install through the BIOS flash utility. If you skip this and the new CPU requires a newer BIOS, the board won't POST and there's no workaround.
Power down fully and unplug from the wall.
Remove the CPU cooler first. Unscrew or unclip it from the board and lift it away. If it sticks, twist gently — thermal paste bonds over time.
Clean the old thermal paste off both the CPU heat spreader and the cooler base using isopropyl alcohol at 90%+ on a lint-free cloth. Both surfaces need to be clean before applying fresh paste.
Locate the CPU socket. On Intel LGA sockets: lift the retention arm, then lift the load plate. On AMD AM5: lift the retention arm. The socket pins are fragile — do not touch them.
Remove the old CPU. Intel: lift straight out. AMD: lift the arm and the CPU lifts free. Handle only the edges.
Align the new CPU with the socket. Both Intel and AMD have a triangle marker on one corner of the CPU and a matching triangle on the socket — align them. The CPU drops in with zero force. If you feel any resistance, stop and check alignment.
Lock the CPU: lower the retention arm on AMD, or lower and lock the load plate and arm on Intel.
Apply fresh thermal paste — a pea-sized dot in the center of the CPU's heat spreader. The cooler's pressure spreads it. More is not better: I once used about four times too much, it squeezed out the sides, and I had to disassemble everything and start over with clean surfaces.
Reseat the CPU cooler and tighten the screws in a cross pattern for even pressure across the surface.
Reconnect the CPU fan cable to the CPU_FAN header on the motherboard.
Reconnect the CPU power cable (4+4 pin or 8 pin) from the PSU.
Power on, enter BIOS immediately (Delete or F2), and verify the new CPU is correctly identified before loading Windows.
10. Common Mistakes (and How to Avoid Them)
These aren't hypothetical. Every one of these is something I've done personally, watched someone else do, or seen on forums enough times that I've stopped being surprised by it.
Mistake 1: Not Fully Seating the RAM
RAM requires significantly more downward force than people expect the first time. If you press gently and stop when you feel resistance, the stick probably isn't seated. Unseated RAM means the PC either won't boot at all, or boots and immediately crashes with memory errors. Push both ends down simultaneously with real, decisive force until you hear both retention clips snap back into place. That double-click is the signal you're done — if you didn't hear it, keep pressing. This exact issue is responsible for probably half of the "my PC died after a RAM upgrade" threads across Reddit and hardware forums.
Mistake 2: Buying DDR5 for a DDR4 Board (or Vice Versa)
DDR4 and DDR5 are physically different — the notch position on the stick is in a different location, and the slot on the motherboard is keyed to match. You cannot insert a DDR5 stick into a DDR4 slot without forcing it, and forcing it will bend or break the slot. The mistake happens because people search for the best DDR5 kit without first checking what their board actually supports. Run CPU-Z before ordering anything — it takes 2 minutes and eliminates this entirely.
Mistake 3: Skipping Driver Removal Before a GPU Swap
Pulling out an old GPU and dropping in a new one without cleaning the old drivers first is a reliable recipe for instability. Old Nvidia drivers don't coexist cleanly with new AMD hardware, and vice versa — even same-brand upgrades can leave behind fragments that cause crashes, black screens on wake, or stutters in games. Use Display Driver Uninstaller (DDU) from guru3d.com in Safe Mode before swapping the card. The whole process takes 5 minutes. Skipping it can cost hours of debugging that never fully identifies the root cause.
Mistake 4: Forgetting to Enable XMP/EXPO After a RAM Install
New RAM installed, PC boots, Task Manager shows the right capacity — but performance feels underwhelming. The reason: all RAM defaults to a slow JEDEC base speed until you manually enable XMP (Intel) or EXPO (AMD) in BIOS. DDR5-6000 running at DDR5-4800 is real money left on the table. Reboot, enter BIOS with Delete or F2, find the XMP/EXPO setting, and enable it. The PC reboots once. Done. I've told probably a dozen people about this after they asked why their "new RAM" didn't feel any faster.
Mistake 5: Too Much Thermal Paste
The correct amount is a pea-sized dot in the center of the CPU's heat spreader — not a line across it, not a coverage of the whole surface. When the cooler presses down, it spreads the paste evenly to fill the microscopic gap between surfaces. Too much paste doesn't cool better; it insulates worse and can squeeze out onto the motherboard. The first time I did a CPU install I used roughly four times the correct amount and had to disassemble the whole thing, clean both surfaces with isopropyl alcohol, and start over. A pea-sized dot is genuinely all you need.
11. After the Upgrade: How to Verify Everything Worked
Installation is half the job. Verification confirms the upgrade is actually running at full performance — not just turned on. Here's what to check after each type of upgrade.
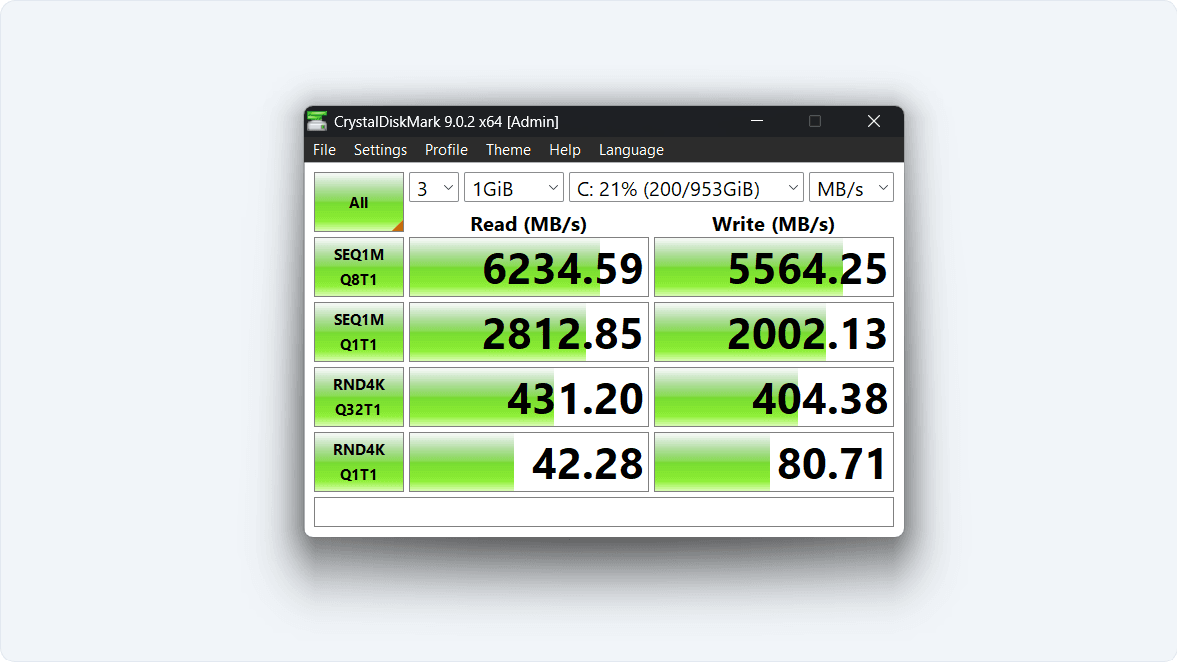
After an SSD Upgrade
Open File Explorer — the drive should appear. If it doesn't, open Disk Management to initialize it. Then run CrystalDiskMark (free at crystalmark.info) to confirm the drive is hitting its rated speeds. A Gen 4 NVMe should show sequential read speeds around 5,000–7,000 MB/s depending on the model. If you see ~3,500 MB/s on a Gen 4 drive, it's running in a Gen 3 slot — still fast, but not what you paid for. Run CrystalDiskMark and compare against the spec sheet for your exact drive.
After a RAM Upgrade
Open Task Manager → Performance → Memory. Total should match your new amount. If it shows half of what you installed, one stick isn't seated — pull it and reseat it with more force. Then reboot into BIOS and enable XMP/EXPO. Confirm the speed shown in BIOS or in CPU-Z matches the kit's rated speed — if it doesn't, the profile isn't enabled and you're leaving performance on the table.
After a GPU Upgrade
Open Device Manager — the new GPU should appear without a yellow warning triangle. Open the NVIDIA or AMD control panel and confirm the card is recognized. Run a game and check FPS. Cross-reference your frame rates against TechPowerUp's GPU specs and review database to find published benchmark baselines for your card. If you're more than 15% below the published average, first confirm the PCIe power cables are fully clicked in — half-seated connectors are more common than dead cards. Then check that your PSU's total wattage exceeds your CPU TDP + GPU TDP + 150W system overhead.
After a CPU Upgrade
In BIOS, verify the correct CPU model and base clock speed are displayed. In Windows, open Task Manager → Performance → CPU and confirm the model name matches. Run Cinebench R24 from maxon.net (free) and compare your score against published results for your CPU — this tells you immediately whether the chip is running at full performance or throttling. A CPU scoring more than 20% below published norms is almost always thermal throttling. Check your idle and load temperatures in HWMonitor from cpuid.com — anything above 95°C under Cinebench load means the cooler isn't making proper contact or the TDP is being exceeded.
After Any Upgrade: Go One at a Time
Upgrade one component, use the PC for several days, and confirm stability before installing the next part. If you install RAM, an SSD, and a GPU in one session and something crashes the next morning, you now have a three-variable debugging problem. Install one, verify it, move to the next. Follow our PC Upgrade Checklist to track each step.
Frequently Asked Questions
Will I lose everything on my PC if I swap the SSD?
Only if the swapped drive is your current boot drive and you don't clone it first. If you're adding a second SSD alongside the existing one, nothing on the system changes at all. If you're replacing the boot drive, clone the old drive to the new one using Rescuezilla (free and open source) before making the swap, or back up your files and do a clean Windows reinstall from USB. Either way, nothing is lost unless you skip the backup step entirely.
I have one 8GB stick — should I add another 8GB or just buy a 16GB kit?
Buy a fresh matched 2×8GB kit if you can afford it. Adding a second single 8GB stick technically works and enables dual-channel, but only if the speeds and timings match closely — mixing RAM from different batches or manufacturers can cause instability. A new matched kit eliminates that risk entirely and costs only a few dollars more. I'd also consider going straight to 2×16GB if you're on DDR5 — the price gap between a 16GB and 32GB DDR5 kit has narrowed enough in 2026 that the extra capacity is often worth it for future-proofing.
My PC won't turn on after I installed the new RAM — what did I do wrong?
Almost certainly the sticks aren't fully seated. This is responsible for the overwhelming majority of "dead PC after RAM install" reports. Pull the sticks out, reinsert them pressing harder than felt comfortable the first time until both clips snap closed on both sticks, and try again. If it still won't boot, confirm they're in the correct slots per your motherboard manual — some boards are strict about which slots must be populated first and will refuse to POST otherwise.
Can I upgrade the RAM in a pre-built PC like an HP or Dell?
RAM and SSD upgrades work in almost every pre-built. GPU upgrades are where pre-builts fail — budget HP and Dell systems often use proprietary PSU connectors incompatible with standard GPU power cables, and the case may not have physical clearance. CPU upgrades are the most restricted: many budget pre-builts have locked BIOS that blocks anything above the shipped CPU tier. Check your exact model number and its service manual before ordering any of these.
Do I need to reinstall Windows after swapping the CPU?
Not if you're staying on the same motherboard — Windows carries over fine for a same-board CPU swap. If you're also replacing the motherboard, a clean Windows reinstall is strongly recommended. Windows licenses are tied to the motherboard's hardware signature, and a major board change can trigger an activation issue. Reinstalling takes about 20 minutes and is worth doing rather than troubleshooting activation problems later.
How do I know if it's worth upgrading, or if I should just buy a new PC?
Upgrading makes clear financial sense when your PC is under 8 years old and the problem is one or two specific components. It stops making sense when you're on DDR3 RAM, a pre-2015 CPU, a platform with no upgrade path, and multiple components need replacing at once — at that point you're putting new parts into a foundation that's holding everything back. A single SSD or RAM upgrade on a machine that otherwise runs well is almost always worth it. For the full decision framework, read our guide on whether to upgrade or buy new.
What to Read Next
Depending on where you are in the process, one of these is your next stop:
- What to Upgrade First — diagnose your bottleneck by symptom and use case before spending anything.
- PC Upgrade Buyer's Guide 2026 — specific product picks, current prices, and budget/mid/high tiers for every component.
- PC Upgrade Checklist — a step-by-step checklist to track your upgrade process start to finish.
- Upgrade or Buy New? — a clear framework for when upgrading stops making financial sense.